
— Boss
破碎之天余烬完整攻略
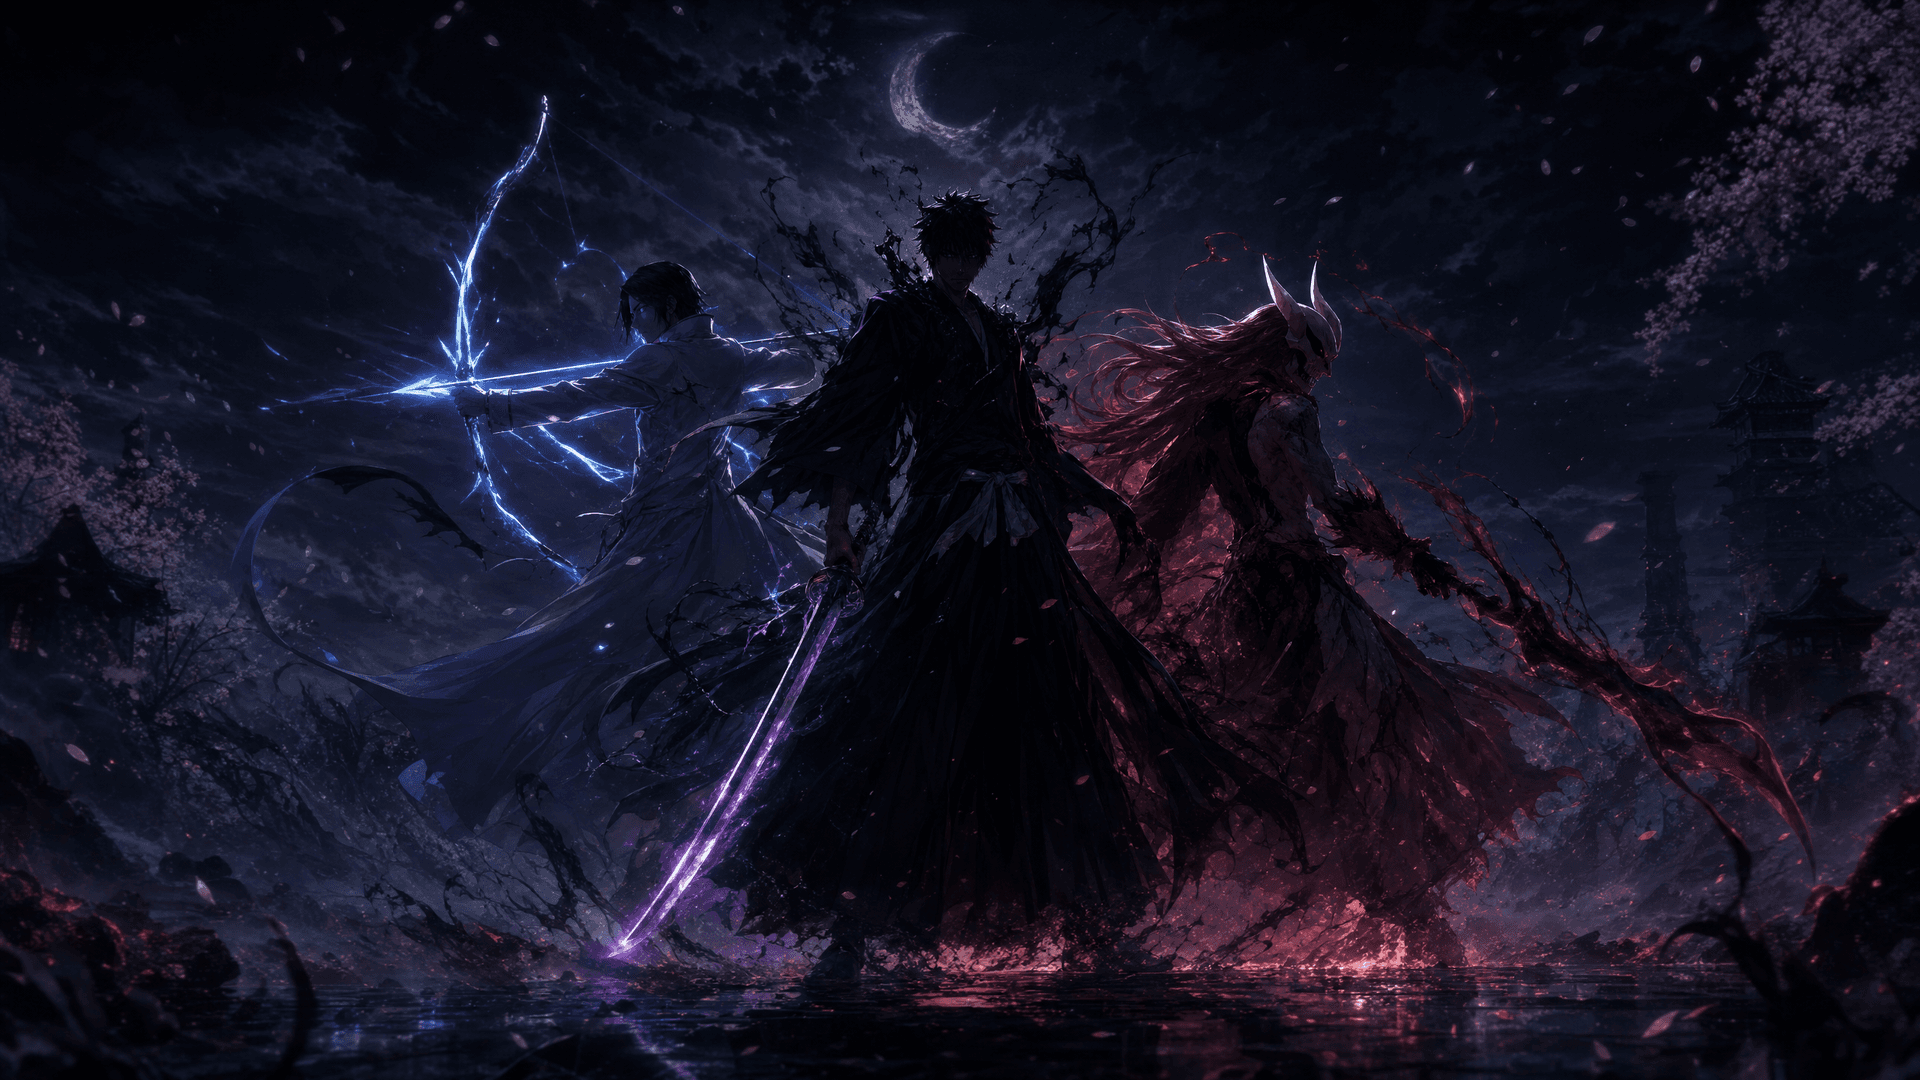
火/灰主题终局 Boss,强惩罚与低容错。
// 攻略摘要
Cinder 绑定灰烬王座徽章。处理火灰地形、燃烧层数与红招重压,核心是短窗口输出和持续控场。
核心要點速查
| 預兆 | 威脅 | 應對 |
|---|---|---|
| Ash cloud spread | Vision + zone pressure | Rotate early to clear lane |
| Flare startup | Fire burst AoE | Disengage, re-enter post-cast |
| Red ignition cue | Lethal punish | Defensive dodge/counter first |
| Burn stack buildup | Attrition | Reduce trade frequency |
| Recovery lock | Boss downtime | Deliver compact burst and reset |
Endgame Context
Cinder is positioned as one of the defining endgame boss checks with fire/ash identity and high punishment density.
The fight rewards precise control over spacing and risk, not raw stat overstacking alone.
Badge pursuit here should be treated as a progression project with planned practice sessions.
關鍵要點
- ▸Top-end mechanics check
- ▸Risk control beats brute force
- ▸Plan repeated attempts
- ▸Track improvements pull-by-pull
Fire and Ash Hazards

Ash zones often reduce visual clarity while burn effects apply sustained pressure on positioning mistakes.
Layered hazard patterns can trap players who delay movement decisions by even one beat.
The safest approach is constant lane maintenance: always know your next safe reposition point.
關鍵要點
- ▸Pre-plan escape lanes
- ▸Do not linger in ash fog
- ▸Burn stacks punish greedy trades
- ▸Move before hazards fully overlap
Telegraph Reads and Red Threats

Cinder telegraphs are clear but fast. Missing one read usually chains into burn attrition and poor follow-up positioning.
Red cues demand immediate defensive priority. Attempting damage through these windows is a frequent instant-loss behavior.
Once cast sequences finish, recovery windows appear briefly. Keep punish strings short enough to preserve reset timing.
關鍵要點
- ▸Red cues override all DPS plans
- ▸Read startup, not effects aftermath
- ▸Short burst then disengage
- ▸Avoid ego trades under burn
準備好進遊戲試試了嗎?
攻略在手——現在就進 VV: ULTIMATUM 實踐一下吧。
Throne of Ash Strategy Loop

Play in disciplined loops: evade hazard set, confirm safety, apply brief damage, then reposition before next ignition cycle.
Treat mobility and defensive cooldowns as your core resources. Spending them for minor offensive gain creates later dead zones.
If burn pressure climbs too high, prioritize survival resets and chip windows until tempo normalizes.
- 1Identify safe lane
- 2Bait cast sequence
- 3Punish confirmed recovery
- 4Exit before overlap returns
關鍵要點
- ▸Loop playstyle outperforms burst greed
- ▸Resource discipline is mandatory
- ▸Reset early when pressure spikes
- ▸Chip safely between major windows
High-Risk Mistakes

Overcommitting during partial visibility is a major wipe source. Ash effects hide key follow-up telegraphs.
Another recurring mistake is treating burn chip as ignorable; cumulative attrition silently removes your error budget.
Players also chase long punishes and get clipped by returning hazard cycles before their animation ends.
關鍵要點
- ▸Respect ash visibility limits
- ▸Burn stacks are not trivial
- ▸Never overstay punish windows
- ▸Bank stamina for emergency exits
Post-Clear Calibration

Clearing Cinder indicates your endgame fundamentals are maturing, especially hazard discipline and controlled punish selection.
Use logs from this fight to refine charm/loadout decisions for similarly punishing badge encounters.
If clear quality depends on RNG luck, continue practice until your route feels deliberate and reproducible.
關鍵要點
- ▸Use clear as endgame benchmark
- ▸Refine charms and defensive layers
- ▸Prioritize repeatability over lucky kill
- ▸Carry habits into next badge pushes
下一步
繼續你的旅程
讀完本篇的玩家通常會繼續閱讀這些攻略。


Throne of Ash Push
Use this fight as your benchmark before attempting the most volatile endgame encounters.
在 Roblox 上遊玩觀看原影片返回首頁基於官方資料與社區實測擴寫。命中與時序可能隨版本變動。